I needed a place to put it. So I carved out a small space (about 7'x9') behind my house and started preparing. I had to do something. Brainchild would tease me and tease me with pics and videos of his progress and then ... Well, reality came in and the wait would be longer. I was going nuts! The subject matter was so intriguing. I had to keep watching the posts. and I had to do something with my hands.
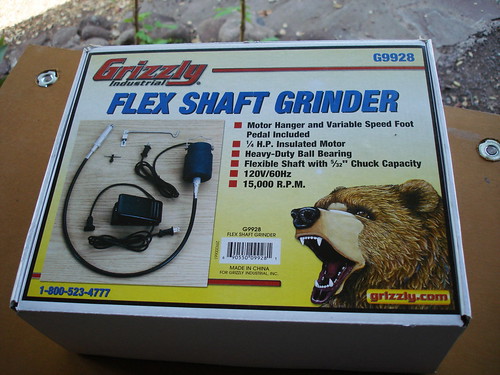
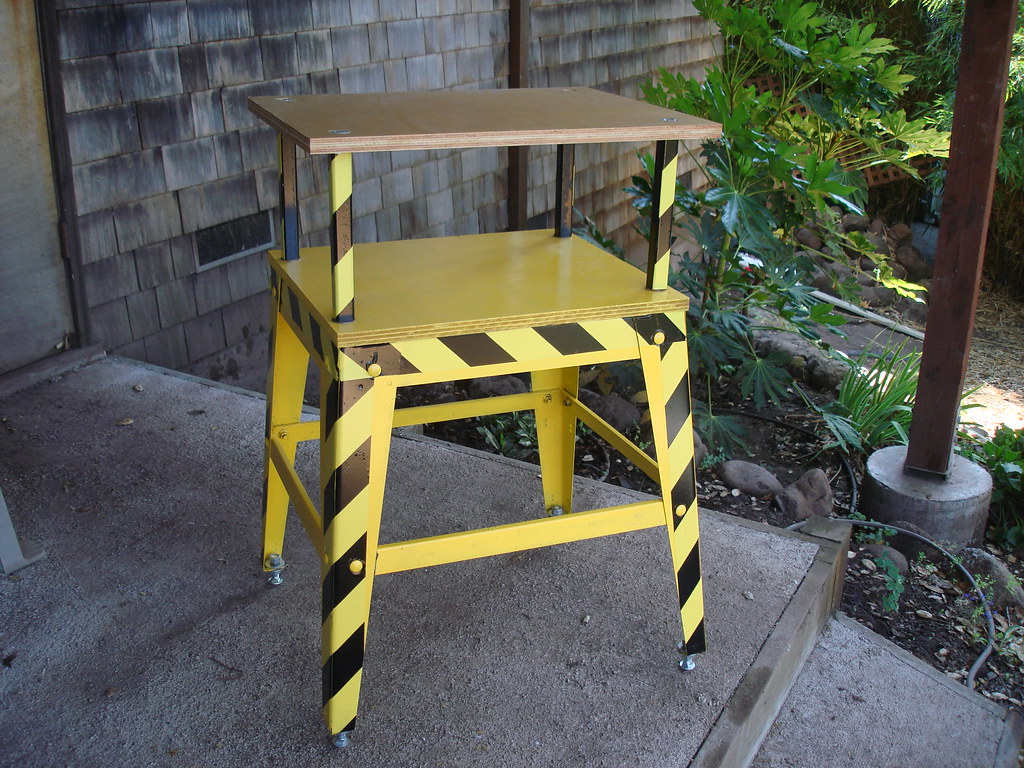
Last month, Brainchild made the decision to have a flex shaft spindle. The Grizzly knock off of a Foredom unit was chosen and my plans for a small niche on my small bench went south because I would need additional height above the micRo. So I needed to make a stand. I couldn't stand it any longer! I had a friend with a rusty trash heap next to his driveway. He had thrown away his Craftsman contractor saw and stand when the motor died. I rescued the stand and with a little paint and MDF for a top I had my micRo stand.

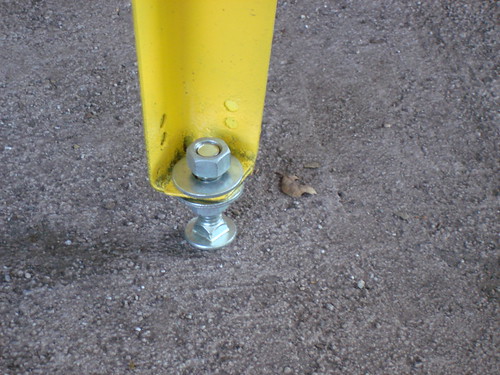
I made some leveling feet.
I ordered the Grizz.
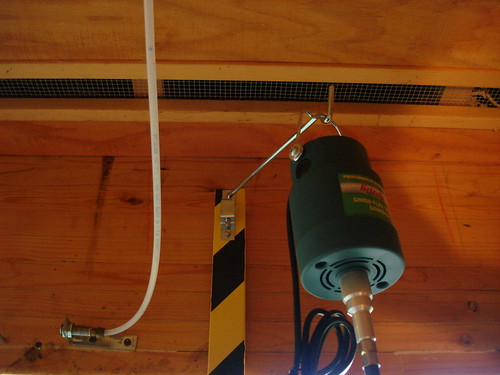
I imagined that the best mounting would have the cable as straight as possible. It seems the only way to do that would have the motor suspended above micRo and move up and down with the Z axis. I haven't figured out the movement yet because I don't want to put a pull down load on the Z motor, but I have a suspension for now. and kind of looks like micRo will be getting some wierd type of transfusion with that motor hanging there.
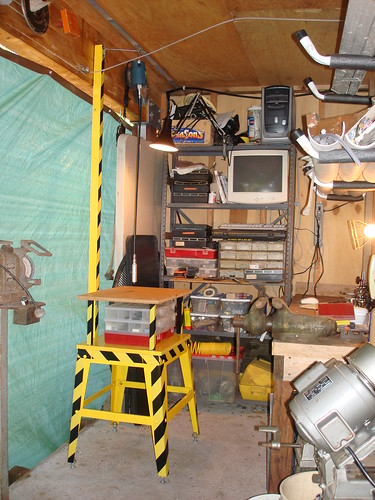
In the picture you can see the old cast off computer which is just fine for runing the LINUX software which will control the stepper motors in micRo. The motor hook clears my limited ceiling height by 3 inches.
I will also need to re-rout my compressed air line (shown on the left), it looks like, so that the motor can swing freely from side to side.
Next post I will talk about upgrading I had to do to the bearings in the handpiece.
No comments:
Post a Comment