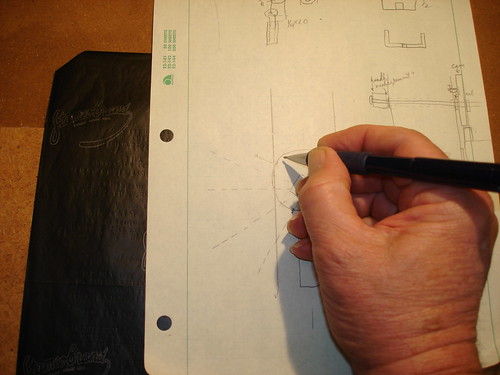
Well I have a drawing that I think will work. I will transfer it to a piece of hardboard. Recognize this?
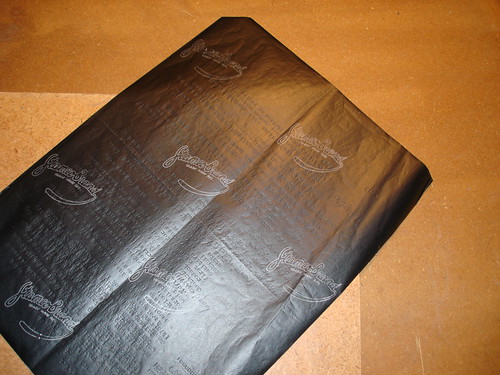
Not many people see carbon paper any more. I will use it to transfer the drawing of the cam.
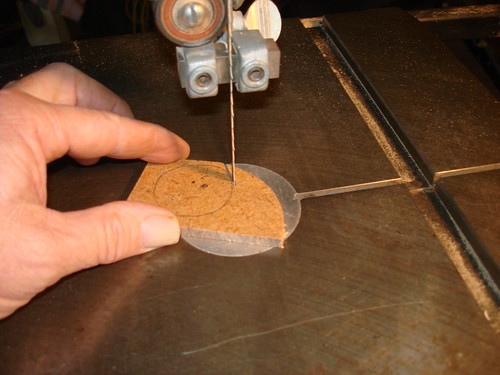
I then cut this out on the bandsaw.
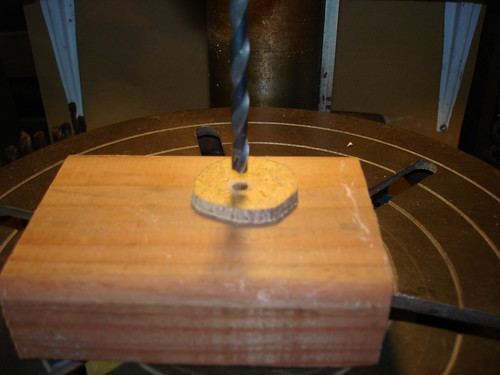
and drill a 1/4" hole where I plan to put the pivot.
I have a bunch of bolts, washers and nuts.
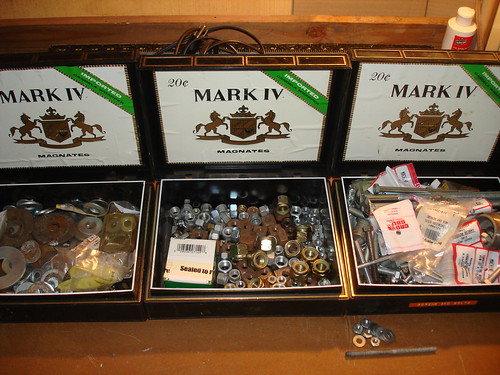
Can you tell my Dad used to smoke cigars?
In all this there are no bolts the right size. I need to cut off a piece of 1/4 - 20 allthread.
That's it in the vice on my rotary hacksaw. I don't have a large number of tools, but this one really saves a lot of hard work.
You can see my collection of aluminum cans in the bucket under the saw. I have this fantasy that I can sell it back to the place where I buy scrap aluminum and reduce my costs that way. We'll see...
Next I need to drill a 1/4" hole in the post that holds the motor.
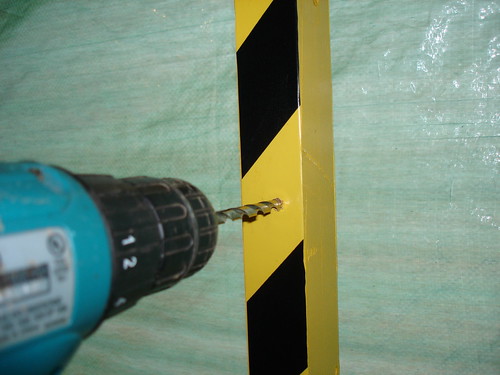
It is high enough to allow the flexable shaft to hang almost straight when it is mounted in the micRo CNC machine. I have mentioned this before, but it bares repeating, micRo is a kit which is being designed and manufactured at Lumenlab (http://www.luminlab.com/)
What's cool is you get to kind of observe as the head guy, "Brainchild", goes through the different design decisions, watching the successes as well as the changes in direction as the machine slowly takes shape. It is actually going into the manufacturing phase now. This is very exciting to the people who have been checking in on the progress for any length of time. I've been watching for about 5 months now. The tension and anticipation is high. I needed to do something, so I started preparing for the kit's arrival. That's why we're here.
So next I see that my bracket needs a little 1/8" shim to keep the controler unit held firmly in place. Oddly enough, a Benjamin More paint stirer is exactly that thickness.


You can probably see that I save time consuming precision for places where it will count. This speed controler will probably be just fine with ballpark cuts and fitment.
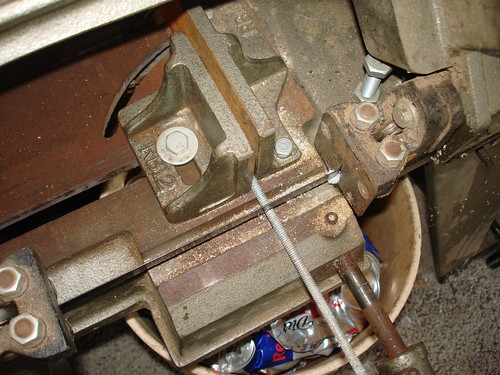
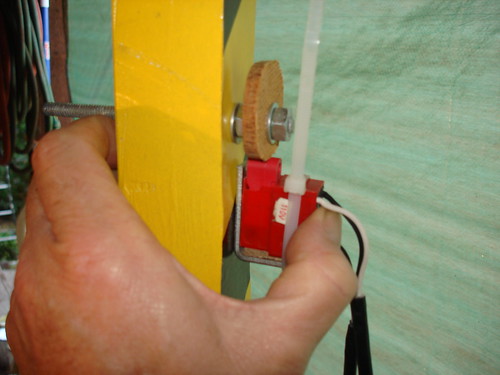
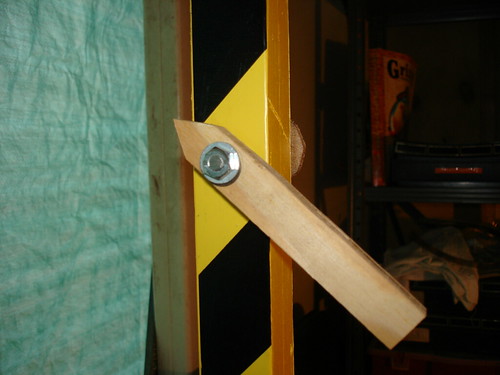
Here you can see the cam mounted on the allthread squeezed betweem a couple of washers and nuts. I am mounting the controler bracket just below the cam so that when it turns, it will gradually depress the plunger. I cut the shape of the cam so that the radius went from just touching the plunger then increased until it was 5/16" greater. This increase is within 120 degrees (1/3rd of a turn). I felt that 120 degrees would be a good amount for the handle to turn in order to control the motor from a stopped condition up to full speed.
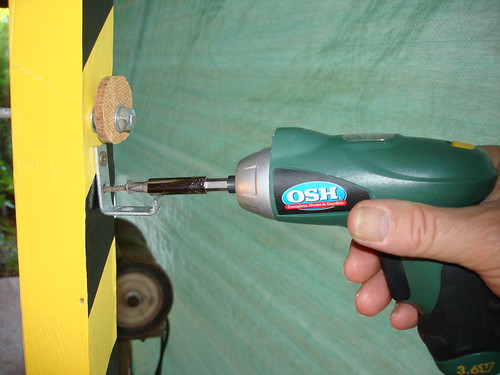
You might also notice that I am using an OSH thing. This was a great deal. This little driver was on sale for $15. Great deal.
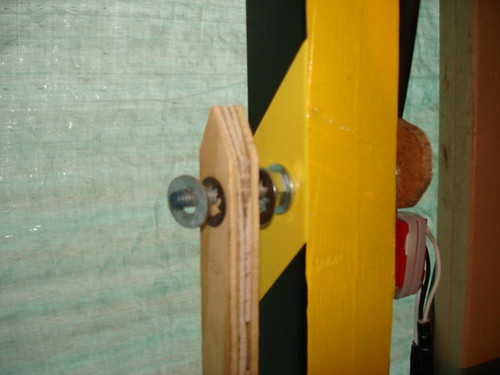
The plunger is shown here with the shim, mounted just under the cam in the back of the post.
As I mount the control lever on the front of the post you can see the internal star washers I've added to keep the handle from turning relative to the cam. So far the cam has not needed this.
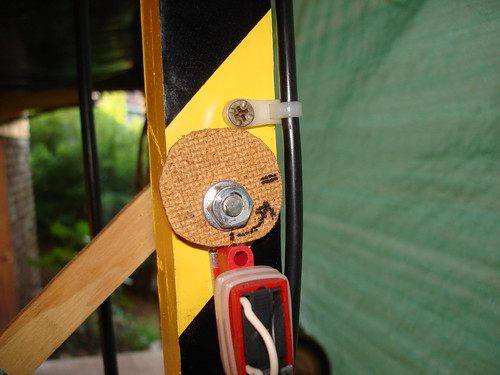
Here's the cam at the back. I have marked the "off" point and the "full on" point on the cam with an arrow in the direction of the turn.
I cut off the excess allthread infront.
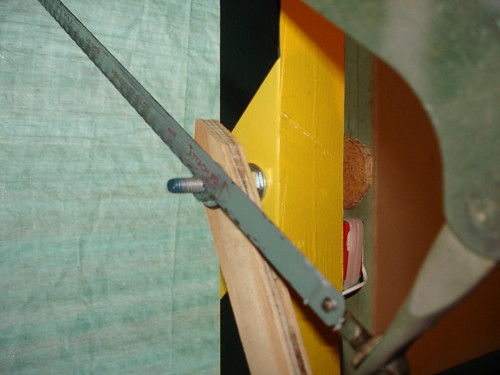
Touch it with a file to clean up the roughness and we're there.
All done! and it works great! I may put a little silicone grease on the cam where it touches the plunger. I may put a plate under the pointer to make some kind of indication of the speed. But other than that it will, as it sits, hold the voltage to the motor steady. Now, this is not a constant speed controler. It will not compensate for varying loads on the motor as the tool grinds its way through different matrials, but it may serve well enough. We'll see.
Next I am going to install the "BIG RED BUTTON". That thing all machines need to stop them when everything is going wrong.
No comments:
Post a Comment