I found out the dimensions of the electronics needed to run micRo:
(1) Parallel Cable break-out board= 1"x2-13/16"
(1) Power Supply= 1-1/2"x3-3/4"x5-1/8"
(4) Driver Board= ~1-7/8"x~3/4"
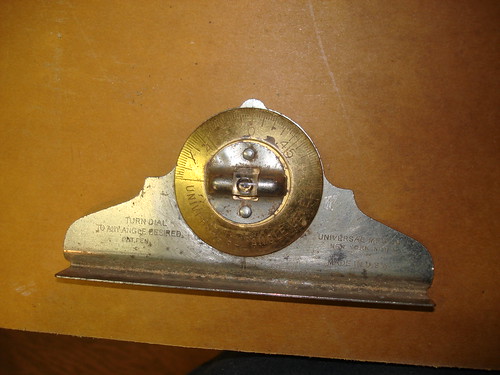
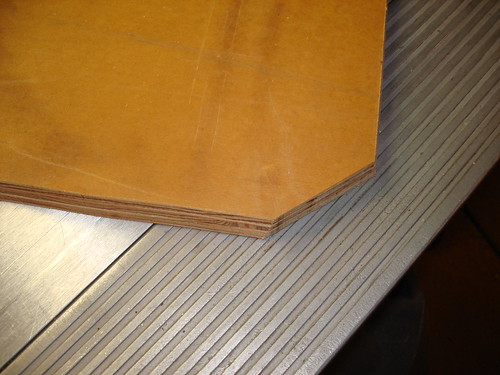
And all the electronics will fit under the micRo stand in a plywood tray I am going to build. As I have said before, I try to use things I have laying around instead of buying stuff. I had some nice 3/4" ply sitting left over from making the top of the stand. I cut out a piece the size of the skirt on the stand. I wanted to make it fit up inside the skirt so I used this tool which I hardly ever find use for to measure the angle of the skirt taper. Here is the tool. It is a Universal Angle Level. It's not too terribly old, but I think it"s cool.
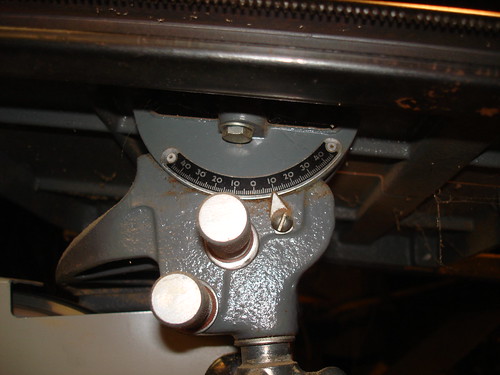
And here it is measuring the angle. That is a spirit level in the middle.
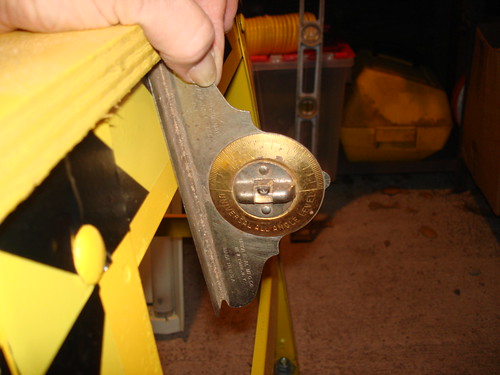
Ten degrees. So I set the bandsaw to cut a 10 degree angle.
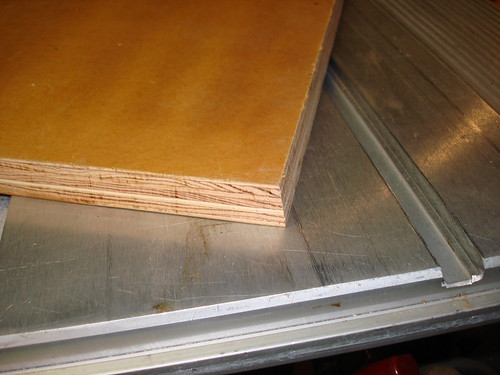
And beveled the edges of the board I will use for the tray.

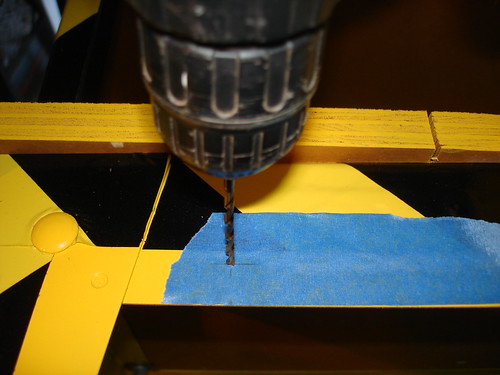
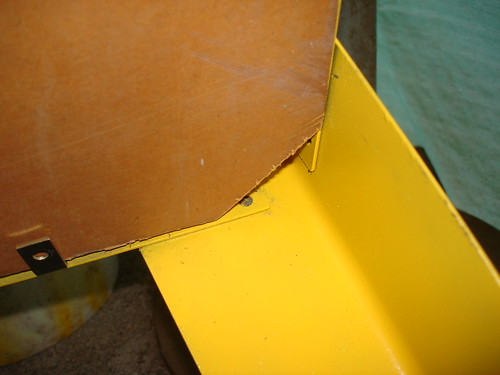
I cut the two back corners to allow cables to go in and out once the tray is mounted up inside the skirt.
I decided to use a couple of angle brackets to hold the rear of the tray. I'll mount them with pop-rivets.

Nothing too critical here.... Drill a couple of holes and mount the brackets.
Here is one showing the cable access hole in the corner. and one of the installed angle brackets.
I put an anchor into the front of the tray to hold it. I probably didn't need to use an anchor, but I did anyway.

The finished tray. Installed in the skirt.

As far as I can intuit, this will keep the electronic components sheltered from the stuff topside, and yet be relatively accessible. The two brackets are in the back and the single screw holds the front. This should work well because I don't expect much weight.
Next I will install my BIG RED BUTTON!